

EVENT INFO
|
Designed to be one of the toughest 100 mile events in the world, the riders of Whaka Miler are in for the challenge of a lifetime with a limited of 100 riders!
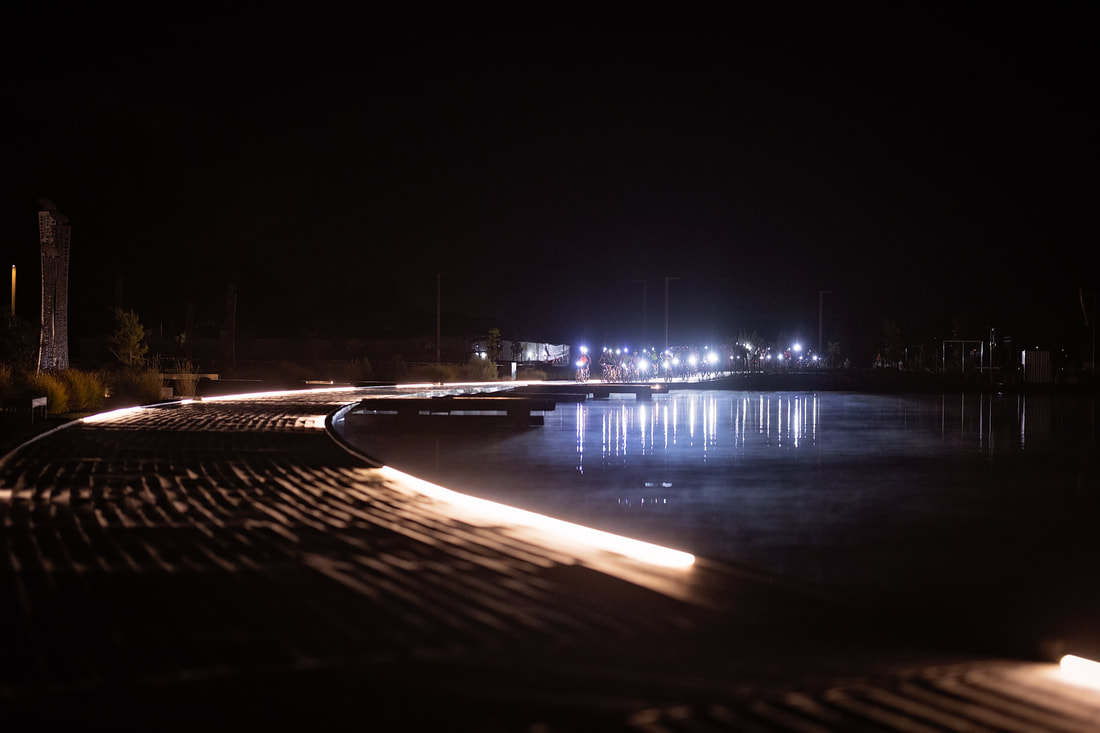
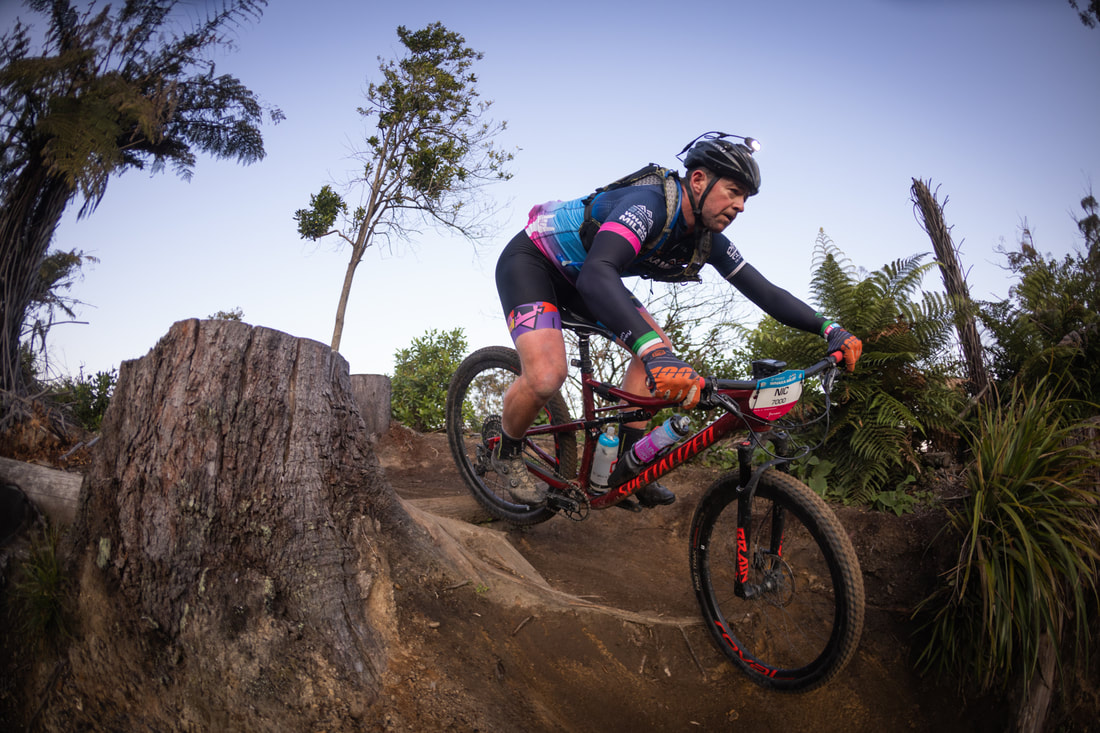
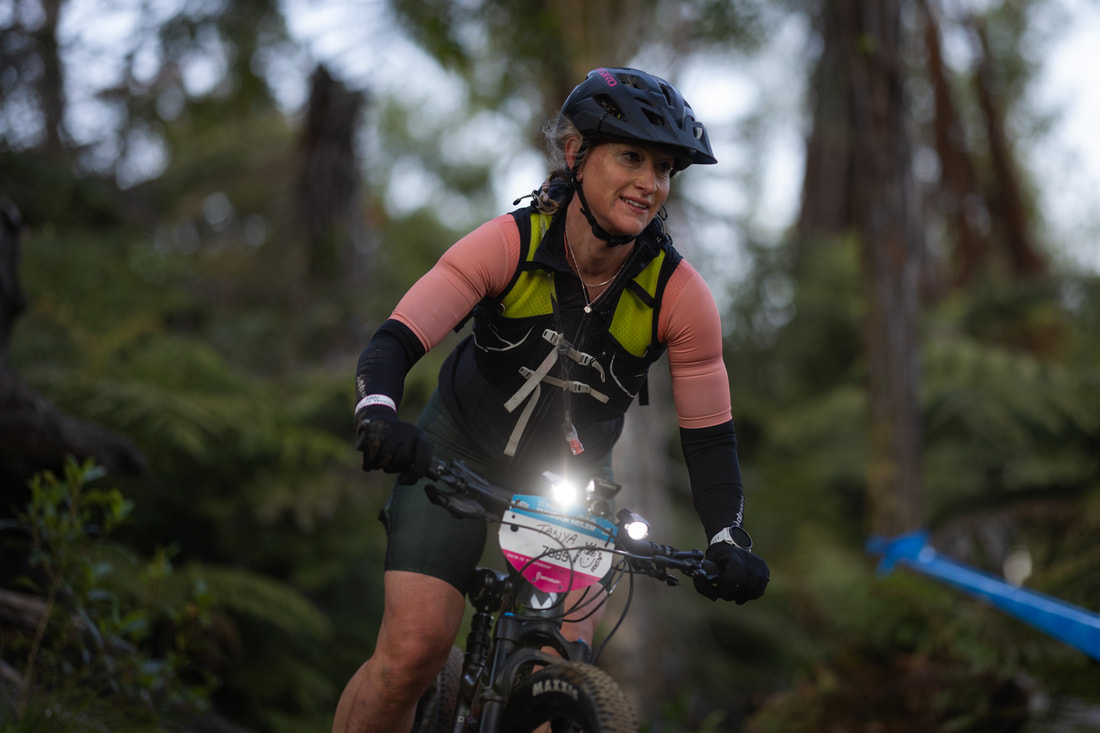
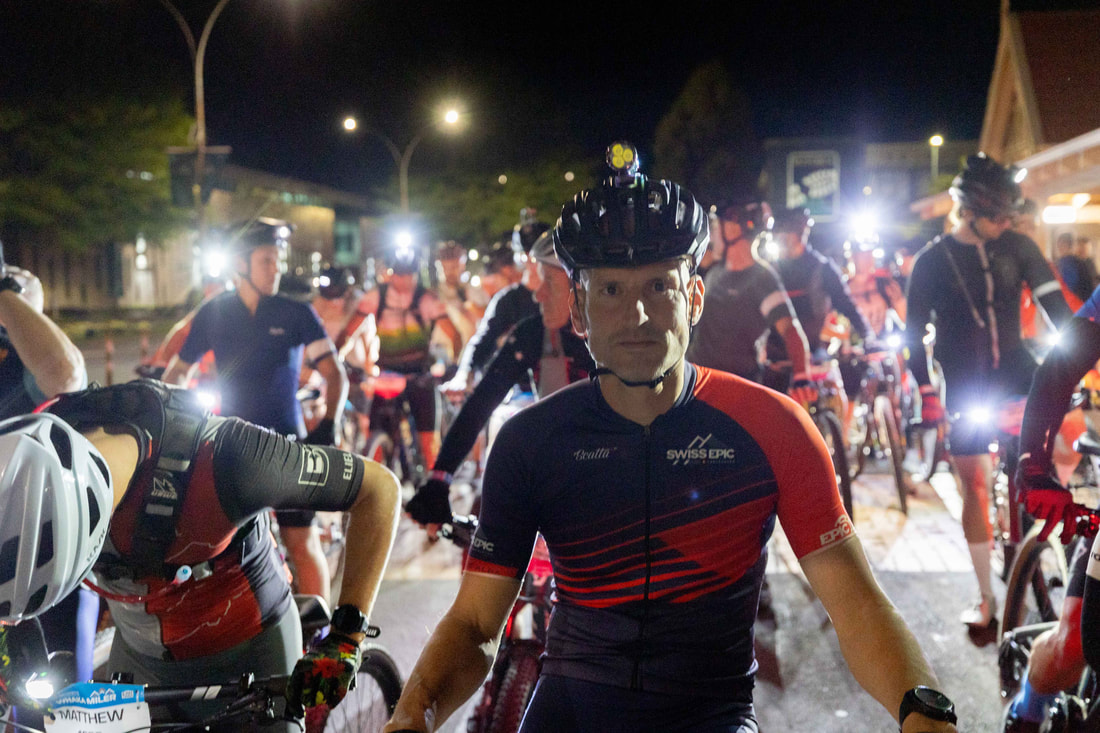
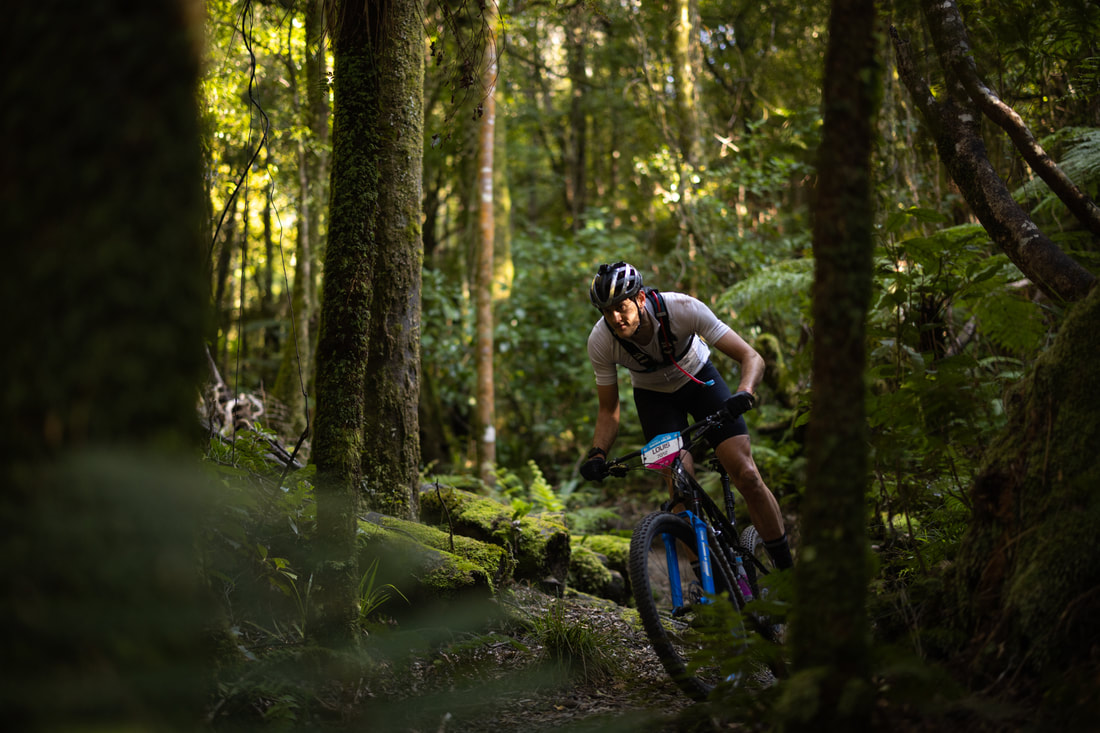
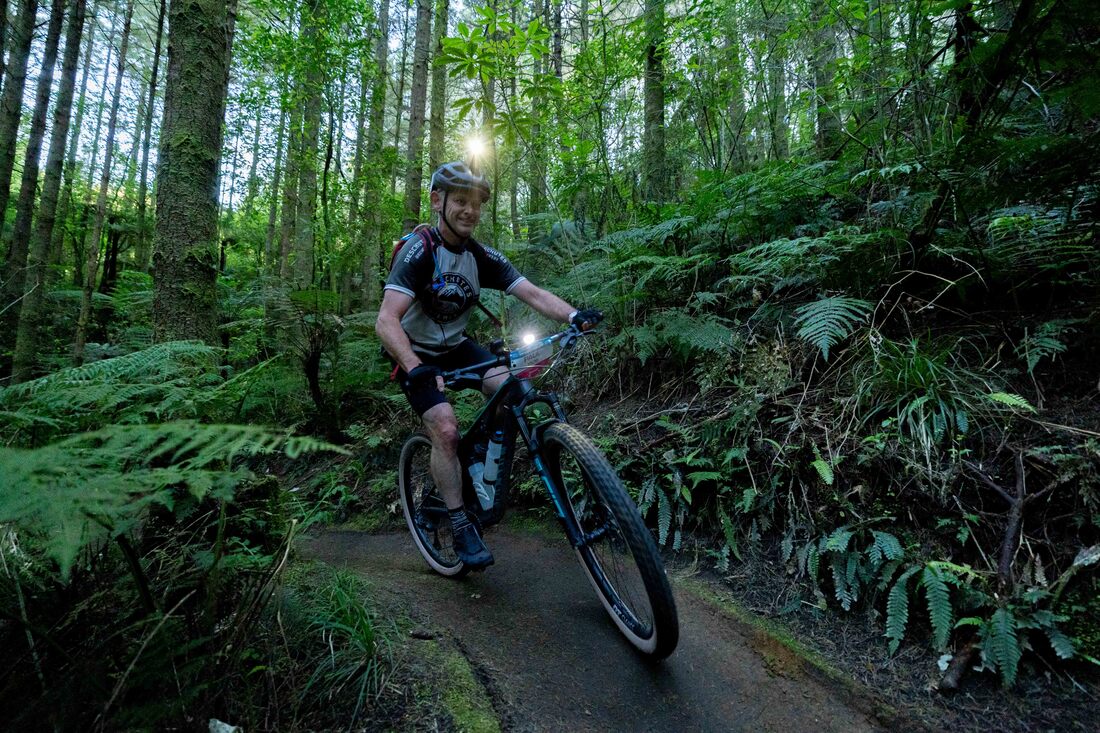
Setting off pre-dawn in the mists of a waking forest, you'll be riding 172km of the best singletrack in New Zealand. Technical terrain, flowing descents and over 5,100m of (in)famous stem-chewing climbs. Unlike other Miler events around the world, our course is predominantly single track, testing your mental as well as physical resolve. Only the most determined athletes will make it to the finish within the 15 hour race window. Do you have what it takes defeat the Whaka Miler? Remember, pain is temporary but glory is forever. |
|
|
EVENT DETAILS
Event date: Sunday 27 October 2024 Start time: 4.30am Start/Finish location: Waipa MTB Car Park Medals: All finishers will receive a Whaka Miler finishers' medal Results: Timing and results are based on gun time Award categories: Under 40 | 40-49 | 50-59 | 60+ Prizes: Fastest overall man and woman receive $500ea eBikes: eBikes are not permitted in this distance. |
|
COURSE INFO

|
TRAIL GRADING
The miler course requires a high-level of technical skill with the majority of the course being on grades 1- 3 and a bunch grade 4 . All rollable with clear B-lines around any features. Navigation skills are not needed with our well-marked route. |
Course subject to change. The Whakarewarewa is a production forest, so there may be changes to the course at any time. GPS data may have a variation of up to 5%.
MANDATORY GEAR
The mandatory gear list is the absolute minimum to keep you safe during your event. In addition to the below, if you would normally take something else on a ride, you should also bring that.
The mandatory gear list is the absolute minimum to keep you safe during your event. In addition to the below, if you would normally take something else on a ride, you should also bring that.
- Bike light | Minimum 300 lumens
- Rear light | This is to be operated on solid red. Strobe setting is not permitted
- Survival bag | Must be a bag and not a blanket
- Mobile phone | Fully charged and placed in a waterproof bag
- Water bottle | Minimum requirement is to carry a 600ml or greater bottle on your bike
- Multi-tool | This must include a chain breaker
- Spare chain link
- Spare tube & inflator
|
CUT OFF CHECKPOINTS
The course has multiple checkpoints for participant safety. Times are based on participants averaging 11.4kph. If you fall behind these timing checkpoints, you will be removed from the event and be classes as a DNF (did not finish).
|
Checkpoint timings:
|
LIGHTS DROP POINT
All Whaka Miler riders are required to start the event will a minimum of one front facing light on their bike, this can be removed at the first aid station.
All Whaka Miler riders are required to start the event will a minimum of one front facing light on their bike, this can be removed at the first aid station.
CLIF BAR AID STATION
|
The aid station will have food, hydration, medical and mechanical support. The food section of the aid station is self-service. The CLIF BAR Aid Station will only be accessible at the designated points during the course, you are not permitted to cut off course to access it.
The Clif Bar Aid Station is located Te Pūtake o Tawa Carpark. 35.5 & 104km |
The CLIF BAR Aid Station will stock:
|
CAMELBAK WATER STATIONS
There will be multiple self-service CamelBak water stations out on course. The water stations fill a standard CamelBak water bottle in 55 seconds. If you're unsure how much water you should be drinking check out the CamelBak hydration calculator for more information. Locations to be confirmed 1 March
The Camelbak Water Stations are located at:
There will be multiple self-service CamelBak water stations out on course. The water stations fill a standard CamelBak water bottle in 55 seconds. If you're unsure how much water you should be drinking check out the CamelBak hydration calculator for more information. Locations to be confirmed 1 March
The Camelbak Water Stations are located at:
- 61km Jeff's link trail
- 81 km Sandy Skid road
- 132km Jeff's link trail
- 152km Sandy Skid road
BAG DROP SERVICE
There are two drop bags for the Whaka Miler event. Your bags will be transported to and from the CLIF BAR Aid Station. We supply you with two drawstring bags & labels with your race number to attach to them.
BAG LOADING
All Whaka Miler participants or a nominated support crew member will need to deliver the bags to the main event venue at the time below to ensure the bags get loaded into the trucks on time. Note that this is the day before the event.
BAG SERVICE
The event provides a 'valet drop bag' service, this means as you arrive in the Clif Bar Aid Station our amazing team will have your bag ready for you.
BAG COLLECTION
Drop bags can be collected during the times below. Your support team will have an 'authority to collect' card to uplift your bags for you
There are two drop bags for the Whaka Miler event. Your bags will be transported to and from the CLIF BAR Aid Station. We supply you with two drawstring bags & labels with your race number to attach to them.
BAG LOADING
All Whaka Miler participants or a nominated support crew member will need to deliver the bags to the main event venue at the time below to ensure the bags get loaded into the trucks on time. Note that this is the day before the event.
- 3pm - 4pm - Saturday | Bag drop tent at the Waipa Venue
BAG SERVICE
The event provides a 'valet drop bag' service, this means as you arrive in the Clif Bar Aid Station our amazing team will have your bag ready for you.
BAG COLLECTION
Drop bags can be collected during the times below. Your support team will have an 'authority to collect' card to uplift your bags for you
- 3pm - 7:30pm - Sunday | Bag drop tent at the Waipa Venue